The first time I hiked here, I tried the loop counter-clockwise and got us lost. There was no sign, and it gets confusing when you get to the ski lift area. The second time I went back, I did the loop clockwise and loved it! So, I am going to show you how to do the loop clockwise.
I got us out of the house before the sunrise to get to the trail around 7 am. I was coming up from the west so the actual sunrise was blocked by the mountains but I was still able to enjoy the soft glow while driving up on Angeles Crest Highway (CA-2).

The parking area was on my left and the area was empty when we arrived. It’s right before the Buckhorn Day Use Area sign. There is a picnic area and a toilet if needed.
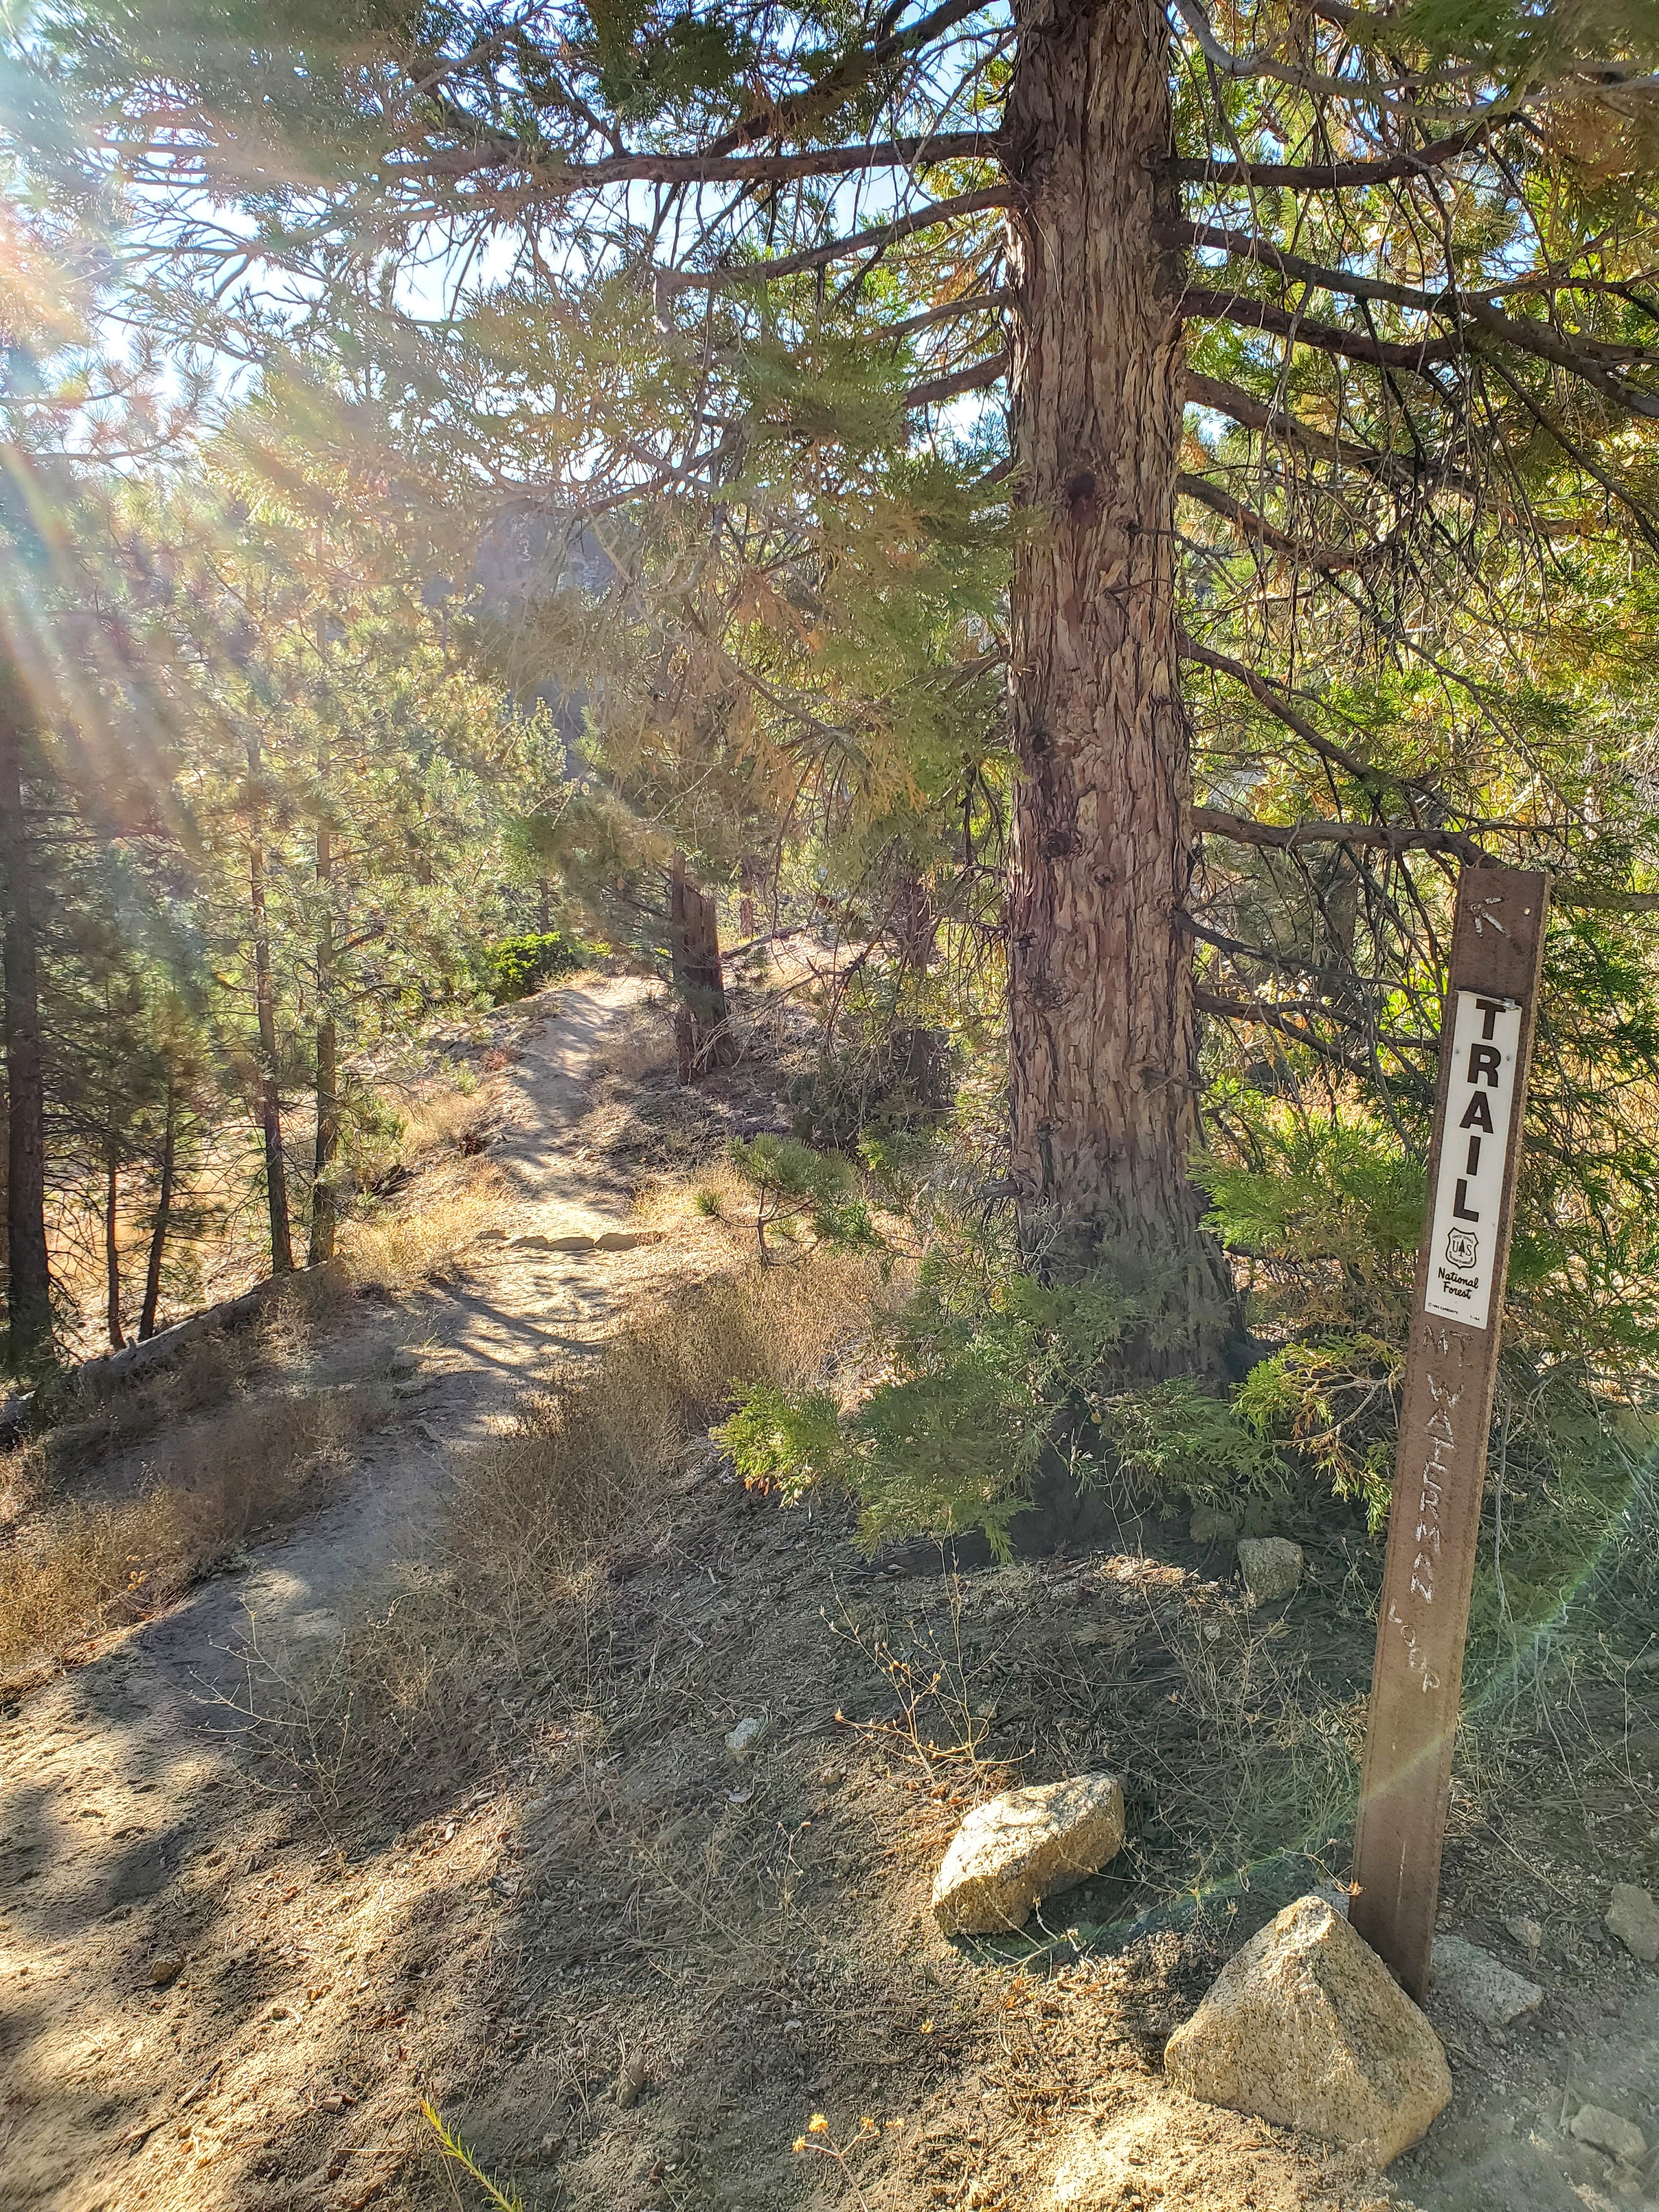
There are two trailheads – Fire road trailhead is across from the Buckhorn Day Use Area sign and a single trek trailhead with the “Trail” sign is across from the other end of the parking area. The single trek is the one Modern Hiker trail guide starts from and that’s where we began. Either way, you need to cross the street.
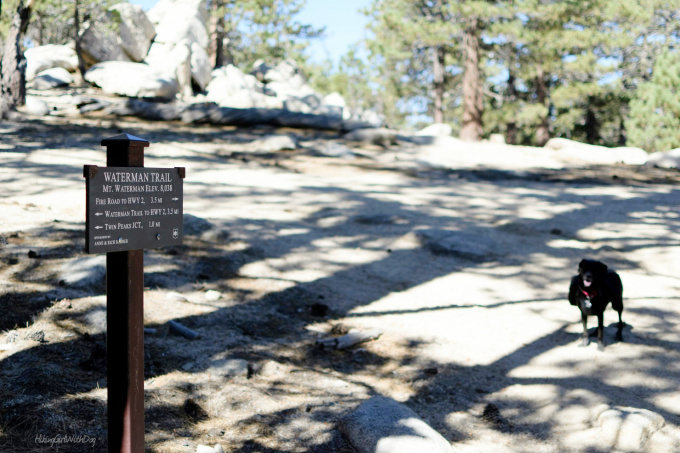
Follow the “Trail” sign until you meet the fire road. Here, you will see a sign for Mt Waterman Loop to your left. See below. Follow this sign and you will avoid the fire road until later and you will do the loop clockwise.
It was a lovely trail with lots of shade.

We were surrounded by pine trees and pine cones were everywhere.

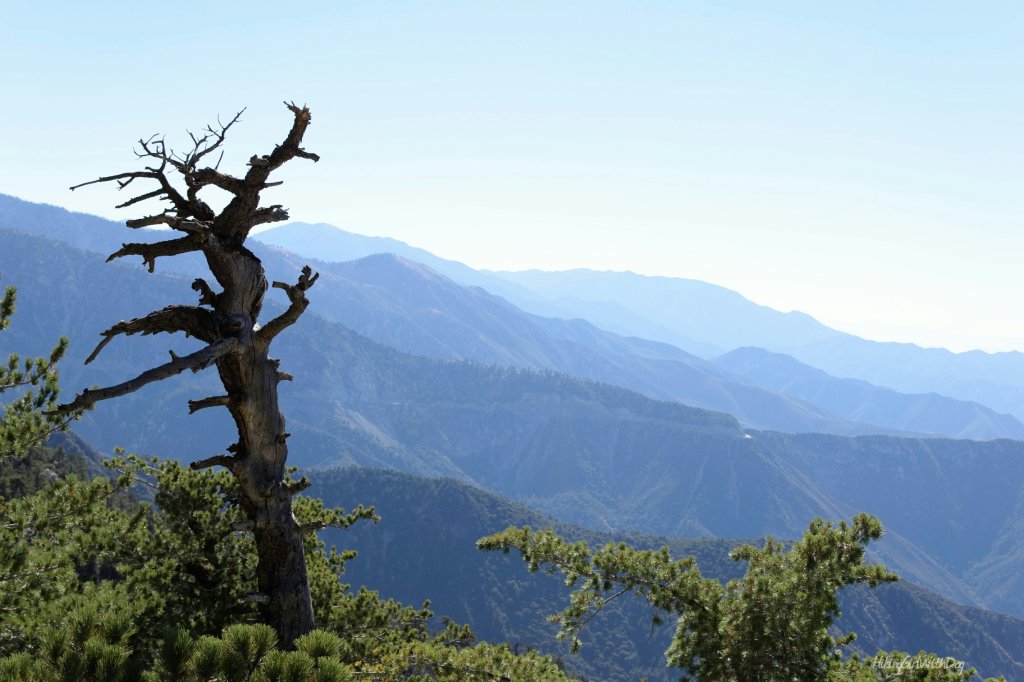
We continued to climb and enjoyed the view.

Once the trail leveled out a little, I found a place to set up my hammock. It’s my first hammock, and I was super excited to put it to use. On the other hand, Xena was unsure about this new floppy thing, so she practically lay on me and held on to her dear life in the hammock. You should see her now, though. She loves snuggling in the hammock.

We shared mini carrots and apple slices and hung out in the hammock for a while. When I had a fill, I packed up our gear and continued on. The view from this side of the trail was stunning.
The trail steadily climbed up then eventually, we came to this sign. Go to the right toward Trail Summit. You are 3/4 mile away from the Mt Waterman summit from here.

When you see the summit to your left, go up, check it out then come back down to the trail. You will eventually come to the sign below. You are at the halfway mark at this point. Soon, you will come to the fire road.
You will pass by ski lifts. This picture was taken when we hiked here the first time, and I got us lost. I kept taking us to different ski lifts. We went to all three of them! She was on to me by this time. Her disapproving look, though. Haha.

This rock formation was right off the fire road, she found herself a nook and wanted to stay there so we took a break here.

From here on, there are no signs to guide you. Just stay on the fire road when in doubt, it will take you back to the trailhead.
Good to Know:
- Hike Date: 9.17.16
- Distance: 6.4 miles
- Elevation Gain: 1,350 ft
- Difficulty Level: Challenging
- Trailhead: 34.346761, -117.921113 (copy/paste to your GPS app)
- Fee/Permit: Adventure Pass ($5/day or $30/annual) is required for parking
- Vault toilet available at Buckhorn Day Use Area
Get Our Latest Comprehensive Dog-friendly Trail List Here. Enjoy!
Happy Hiking!